
Installing a new roof is an extensive project that requires careful planning and execution. This step-by-step process will guide you through the basics of installing a new roof.
The first step in the roof installation process is to prepare the work area. This involves removing any old roofing materials and cleaning the surface thoroughly. It’s essential to ensure that no nails, screws or other debris are left behind as these can cause damage during installation.
Next, you need to install drip edge at all edges of your roof. The drip edge is a metal flashing that prevents water from seeping under the roofing material and into your home. The drip edge should be nailed down securely using roofing nails.
Once the drip edge is in place, it’s time to install the underlayment, also known as tar paper or felt paper. Starting from the bottom of your roof, roll out one row of underlayment at a time, making sure it overlaps with each subsequent layer by at least two inches for optimum protection against moisture.
Afterward comes arguably one of the most critical steps: laying down shingles or whatever type of roofing material you’ve chosen for your home. Start from the bottom corner and work your way up and across your roof. Each piece should overlap with its neighbor by at least half an inch to create a waterproof barrier.
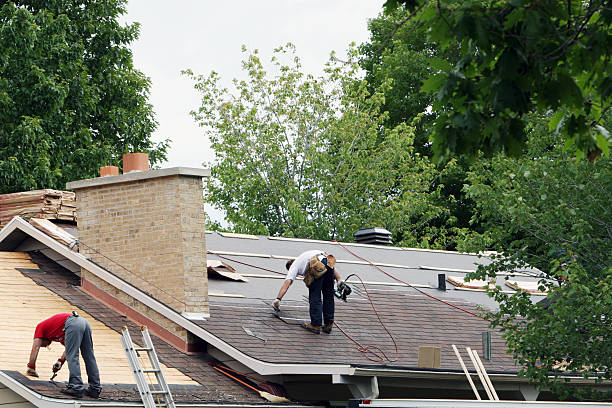
Flashing may need to be installed around chimneys or vents on your rooftop as well for additional protection against leaks. Flashing pieces are typically made out of metal and are designed to divert water away from vulnerable areas on your rooftop like corners and joints where two different sections meet.
Once all shingles have been installed correctly, it’s important not just to stop there but also apply ridge caps along with any ridges or peaks in your rooftop design for extra reinforcement against weather elements such as wind or rain which might otherwise cause significant damage over time if left unchecked without this crucial protective measure in place already beforehand during initial construction stages.
After all these steps have been completed, it’s time to clean up the work area. Any leftover materials or debris should be removed from the roof and surrounding areas. It’s also a good idea to inspect your new roof for any potential issues, such as loose shingles or improperly installed flashing.
The final step is to enjoy your new roof installation near me and maintenance, a new roof can last for decades, providing protection and aesthetic appeal to your home. Remember that while this guide provides an overview of the process, installing a new roof is a complex task that often requires professional expertise. Always consider hiring an experienced roofing contractor if you’re unsure about performing this project yourself.
Grand Exteriors
10361 Jamestown St NE, Blaine, Minnesota 55449
763-272-7857

